HOW I MADE MY PALLET BED
This post is basically how I made my room look like my endless Pinterest boards. It's been a sloooow process. The latest addition is my pallet bed. Be warned: not as simple and therapeutic as one may first think... but totally worth it ;).

Step One:
Decide what base you want for your bed. If you answered pallets, well I guess you should continue reading. I wanted a pallet bed because 1. It looks cool and 2. Bases are rather expensive!
Find pallets that you like and some that are in decent condition (watch out for big splinters). The ones I got are 4-way, meaning they can be picked up by a forklift from either side. Also take note of the spacing between slats just in case they are too far apart. We got mine from an industrial area where they were giving away excess pallets - a lot of companies do this so hunt around and ask them, they might be keeping them out the back and hidden! You might want to check what they have been sprayed with or used for as well.
I originally got 8 pallets because I wasn't sure if I wanted double height. My mattress is quite deep so one level (4 pallets) felt right for me. I'm glad I got 8 to start with because a lot of them were quite damaged so having a few to choose from was great! It was also handy having a few extras to stack whilst sanding so it wasn't too hard on my back.

Step Two:
Get them home and start sanding preferably outside. I used 80 grit sand paper to start off with and for some bits that needed to be smoother I used 100 grit (I only know this because Dad told me what they were called - if you have no idea I'm sure someone at Bunnings or your local hardware shop can help you out). Taking the time to sand properly is very important because you don't want any nasty splinters stabbing you in the foot when you jump out of bed in the middle of the night to pee. I found it easy to work out a system to keep track - tops of slats, sides of slats, other bits. Electric sanders can come in handy too but not essential. Turn on some beats and rope in a friend, family member, or random kid down the street because this part takes a whiiiile! Be mindful of splinters because WOW do they hurt.
Step Three:
Once you have finished sanding, dust down the pallets and start painting! I used normal interior household wall paint that was left in our garage from the previous owners (win!). For more deets, Dad says it is a low sheen acrylic in off white. I brushed it on quite thickly, caught any drips and only needed to do one coat. There's no need to be super careful, just get it on thick enough. I didn't paint every little bit of wood because the mattress covers a lot and I don't mind seeing some bare wood (notice the slats underneath in some of the final photos).

Step Four:
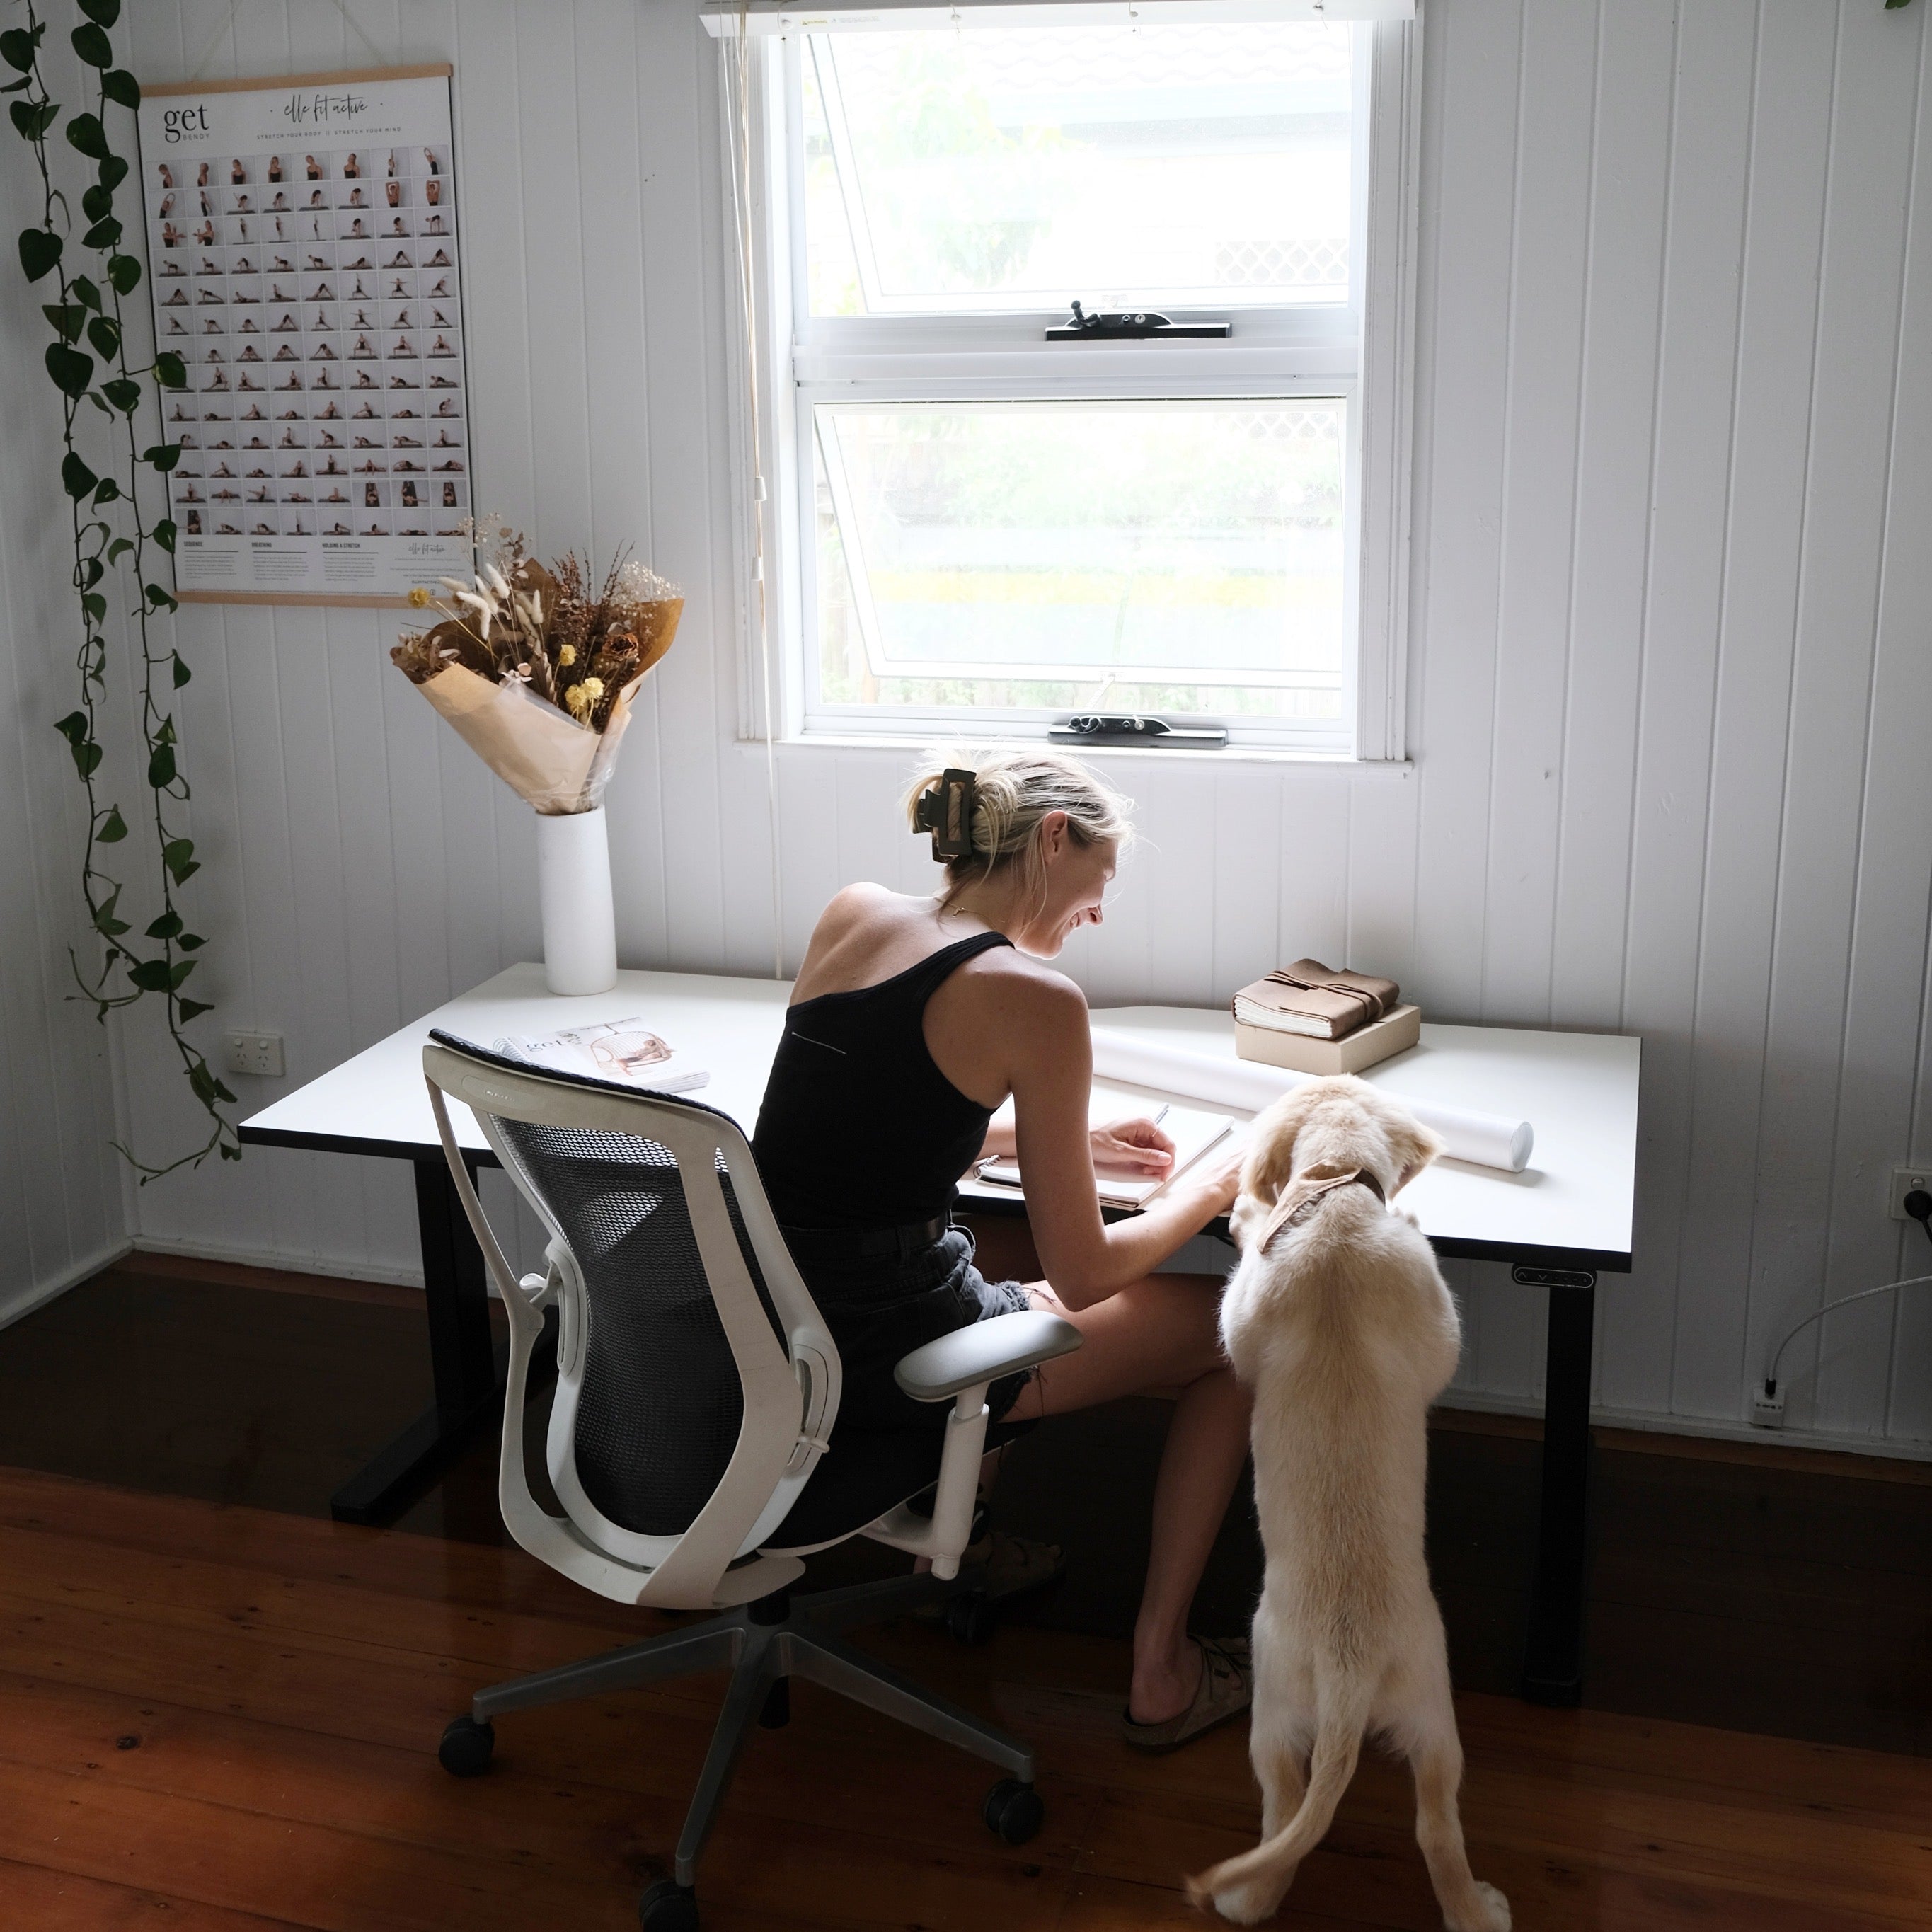
Decide how to style your room. My curtains were cheapies from Ikea and as I love minimalism, decorating does not cost much at all. The money I saved for my room went to a comfortable mattress which has made a world of difference to my back. Before getting my mattress I had no idea what to choose. Turns out an ideal mattress is one where your spine can be straight whilst laying on your side. Fun tip, might help? I love linen sheets however if you'd like white on white on white you can pick sheet sets up anywhere and choose whatever is in your price range.

Step Five:
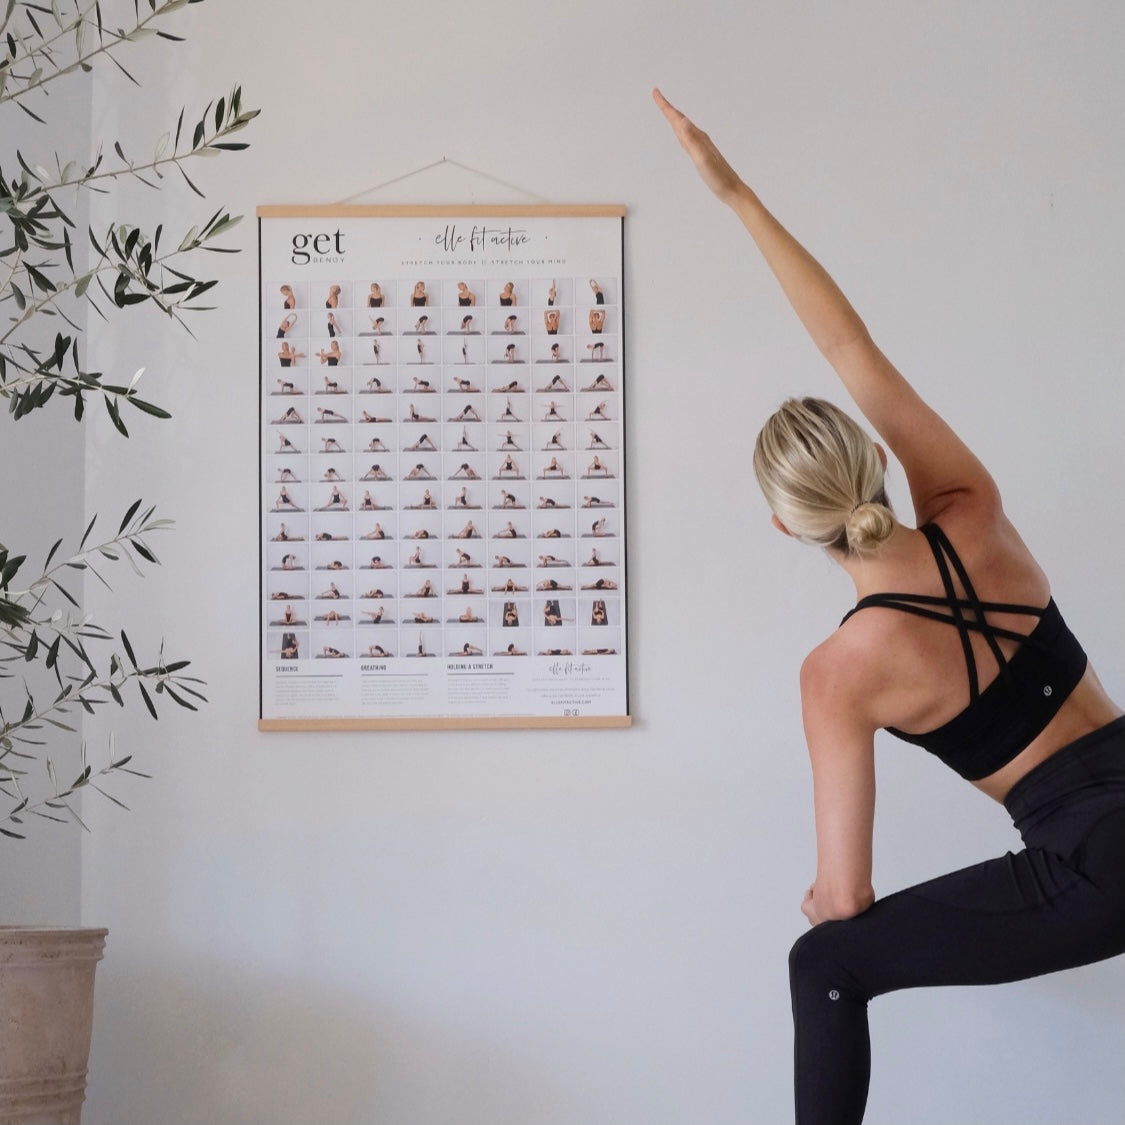
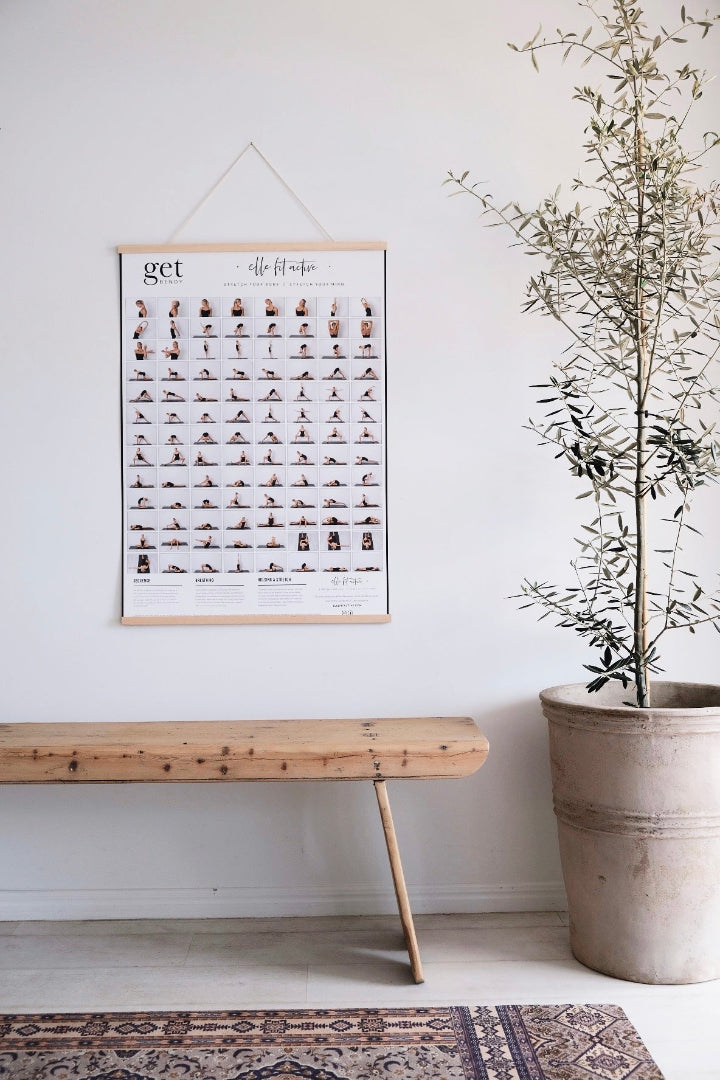
Roll out of bed and have a stretch every morning and another quick one before bed. You'll need it after all of that sanding and painting! Here's something I prepared earlier, it's called Get Bendy. And it will match your pallet bed vibe perfectly ;).


Have fun!! I hope this blog was helpful.
Elle :)


Same question as above.
Are they attached?
where are the linen sheets from?
Do you have to get a boxspring too
What size bed is this for? How many panels are on the ground and what are their measurements?!
Love your pallet bed! Did you need to nail the four pallets together?
Leave a comment